Strong, growing plants and weak ones that struggle can be distinguished by Transplanting Seedlings at the right time and using the right technique. Spring is the best time to put young plants in the yard because the weather is mild and the soil gets better every day. One of the hardest things for farmers is transplant shock. If you know how to time, prepare the soil and handle plants, you can greatly lower the risk of this happening.
If you want to add new plants to your yard, like the Blanket Flower, or make a vegetable bed or flower garden, it's much easier if you follow a few clear steps. If you take good care of your plants, they will settle down quickly, grow new leaves and give you a healthy, happy season.
Knowing the Right Time to Transplant Seedlings
The first crucial step in a successful seedlings transplant is selecting the right time to move young plants. Spring is the best time to plant, but plants need to make it clear that they are ready to move.
Most of the time, a sprout is ready to be moved when it has at least two sets of true leaves. The plant has grown enough to handle a new climate based on these leaves. Don't move the plant too early, or it might get transplant shock. If you wait too long, it might not be able to recover from the stress.
Also, now is a great time to think about adding long lasting plants to your yard, like Dogwood Trees. Dogwoods do well when they are moved when it is cool and mild in the spring. This helps them get established before it gets hot in the summer.
Step by Step: How to Transplant Seedlings
Plants can quickly become rooted in their new environment if you know how to transplant seedlings. Even the most careful farmers can accidentally cause transplant shock, so it's important to be gentle.
Before you move plants, give them a lot of water for a few hours. It's much less likely that roots will break if they are wet. Get the plant bed ready ahead of time so that seedlings can quickly go in.
Here is an easy, step by step guide:
- Make a hole just a little bigger than the root ball that's already there.
- Make the dirt at the base less dense so the roots can spread out easily.
- Pull the plant out by its leaves only, never its stem.
- Put the root ball in the hole at the same depth it was growing at before.
- Fill in the hole with loose dirt and press it down a little.
- Use light water to get rid of air holes
To keep the seedlings from getting stressed, you should treat them carefully. If you touch twigs that aren't strong, you could break them. Instead touch the leaves or the soil around the roots.
You will see that your seedlings transplant more smoothly and with less decline as you use this method more frequently.
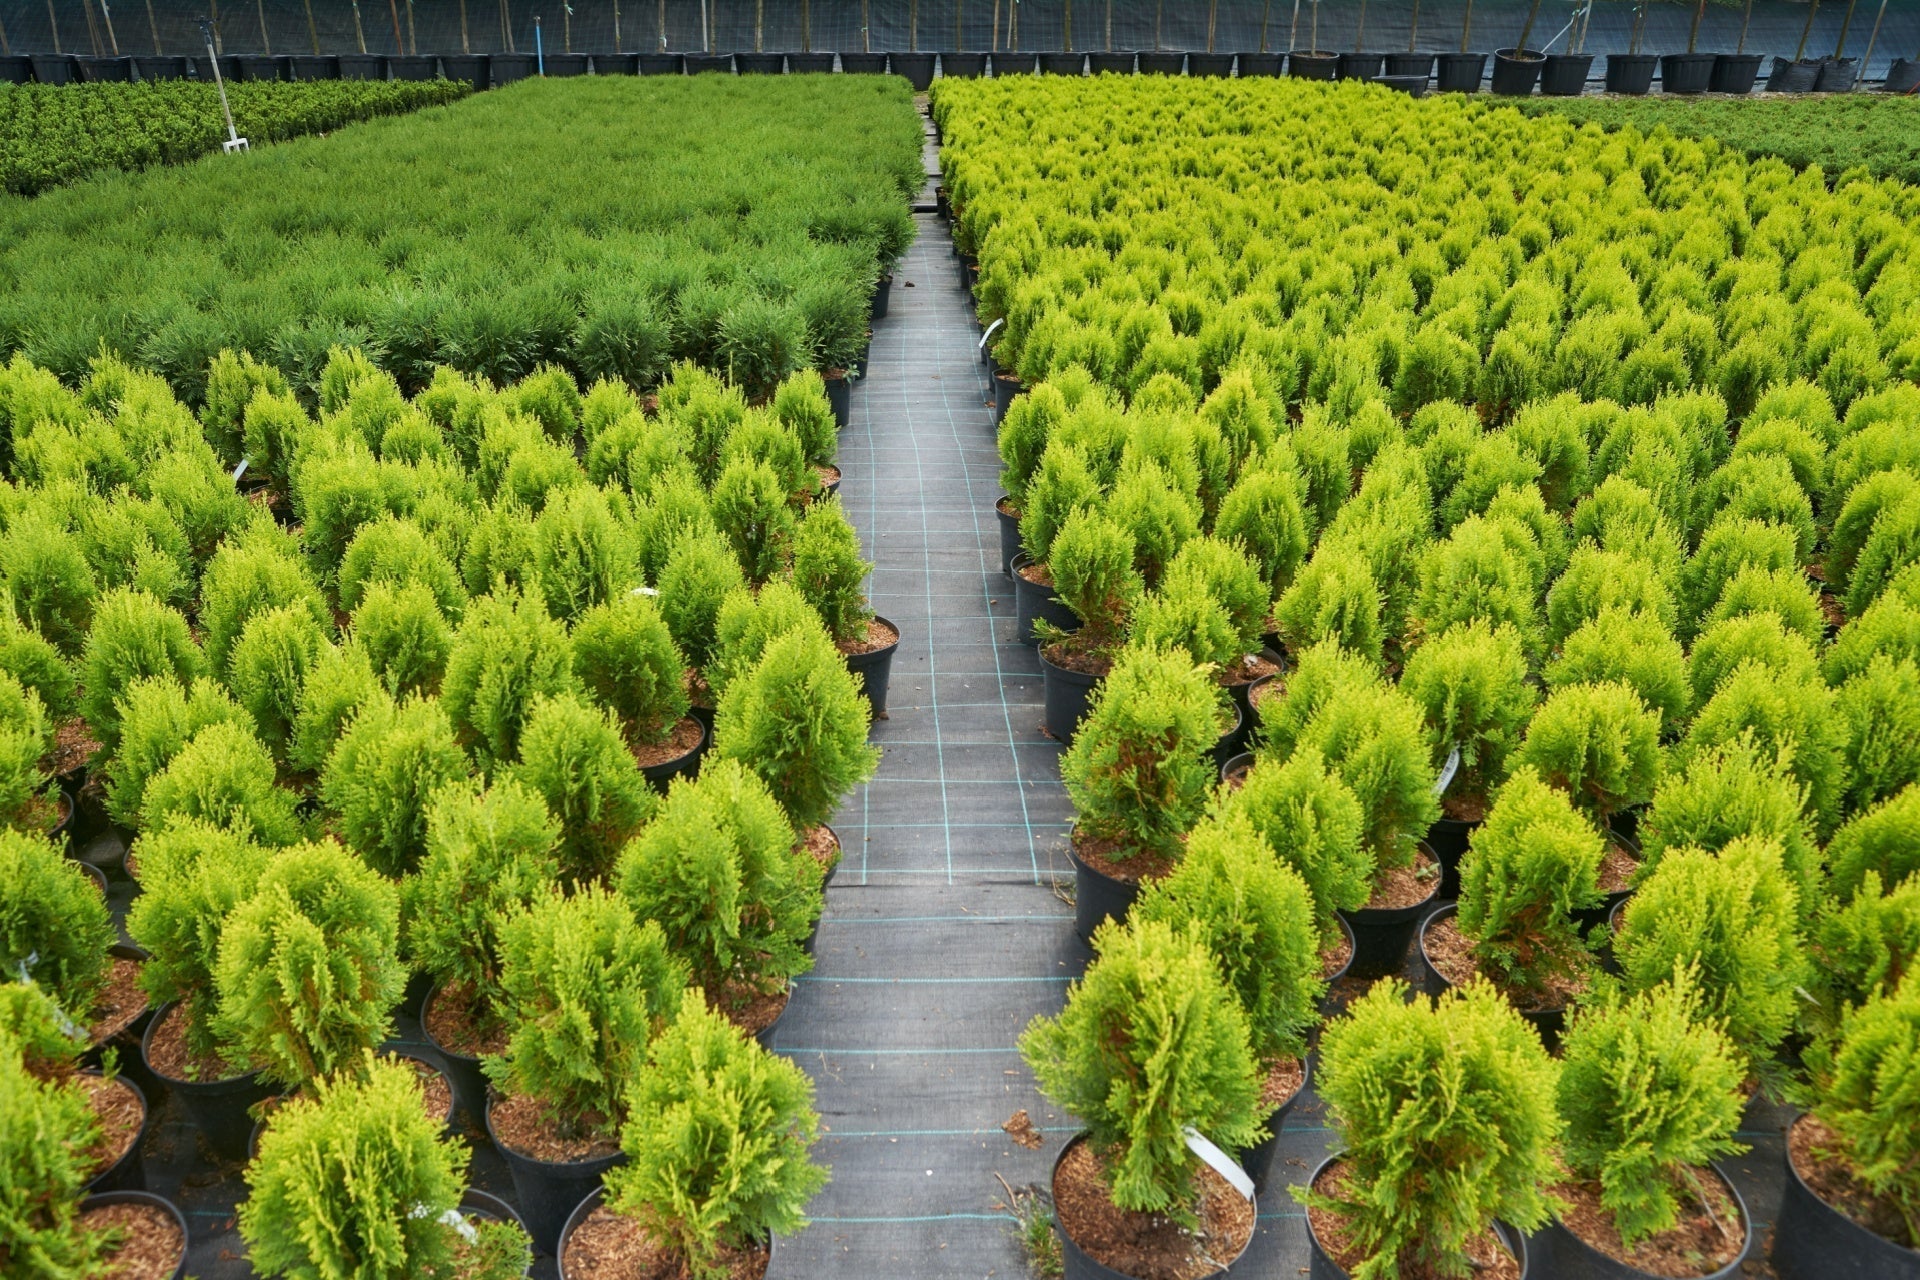
Choosing the Best Soil for Seedlings
Choosing the best soil for seedlings will help their roots grow strong and lower their risk of stress after being moved. For young plants to grow, the dirt should be loose, drain well and have some organic matter in it without being too heavy.
A good soil mix should have:
- Compost to add nutrients
- Peat or coconut coir to keep water in the soil
- Perlite or sand to help water drain away
- A pH level that is right for your plant type
It pays off right away to improve your yard soil before planting. Soil that isn't healthy can slow plant growth, cause root rot, or make plants more vulnerable to changes in the weather. The right structure of the dirt gives the roots room to grow and holds the plant firmly in place.
Also, now is a great time to add decorative trees like the White Oak Tree. Strong preparation of the soil helps big species grow deep, stable root systems that last for decades.
Using the right soil for seedlings is an easy approach to protect young plants from having transplant shock. Good dirt helps roots grow in a healthy way, takes in nutrients better, and helps plants grow steadily from the beginning.
Hardening Off Seedlings before Transplanting
Before plants can stay outside all the time, they need to get used to the weather, sunlight and wind slowly. Hardening off is a process that lowers stress and stops transplant shock.
A quick adjustment to the schedule back:
Day 1: Put the plants outside for one to two hours.
Day 2: They should stay outside for three hours.
Day 3: Put them in partial shade for four to five hours.
Days 4 through 7: Slowly let them spend more time in the sun.
Day 8: The seedlings are usually ready to be transplanted.
This slow change makes the stems stronger, the leaves more durable and the roots more able to adapt to the new growing conditions.
Watering and Aftercare for Strong Growth
The most important thing to do after moving seeds is to make sure they get enough water. While roots get used to their new home they need regular moisture. However the soil should never get too wet.
Here are some helpful treatment tips:
- For the first week, water gently every day.
- Add mulch to protect young roots and keep the soil at the right temperature.
- Check plants every day for signs of stress.
Young Root
FAQs
Flowering Dogwood
What is transplanting of seedlings?
The act of moving young plants from starter trays or pots to the yard or bigger pots so they have room to grow.
How to separate seedlings for transplanting?
Break up the earth a little and use your fingers to pull the roots apart. Hold plants by their leaves, never their stems.
What to do after transplanting seedlings?
Give it water right away, some light shade for a day or two and keep a close eye on the soil's moisture level.
How do you transplant seedlings without harming the roots?
Before you move them, water them, be careful not to damage the roots and place them at the same depth as before.
What is the best soil mix for young plants?
By keeping the right amount of water in and letting it drain, a mix of compost, peat or coir and perlite makes the best soil for seedlings.


