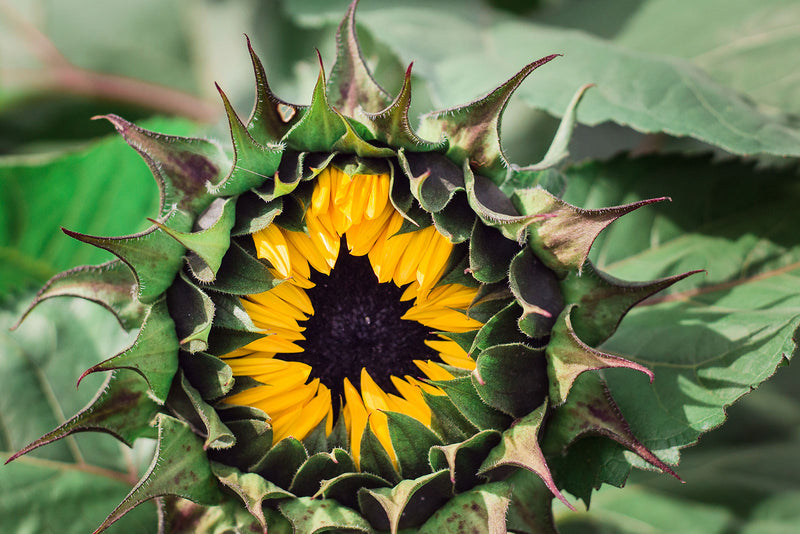
As spring unfolds, gardeners everywhere are eager to welcome the season's burst of colors into their landscapes by planting blanket flowers.
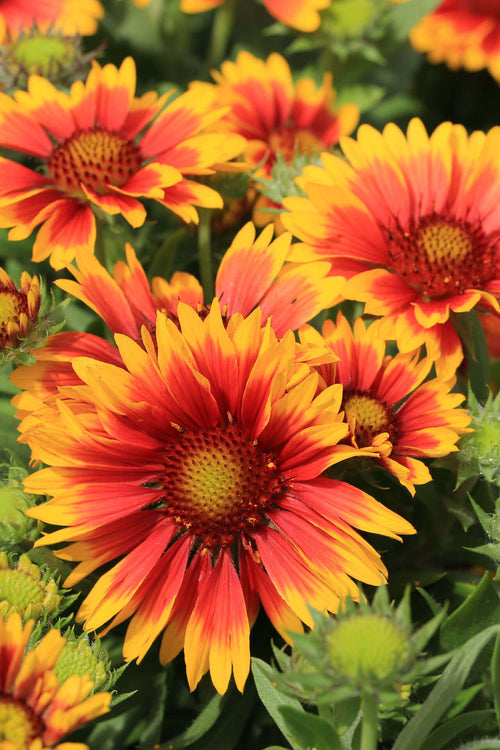
The blanket flower (Gaillardia) is a resilient and stunning perennial that adds a pop of color and charm to any garden bed or container. Known for its daisy-like blooms in shades of red, orange, and yellow, planting blanket flower is a favorite among both beginner and seasoned gardeners for its low-maintenance nature and ability to thrive in various conditions.
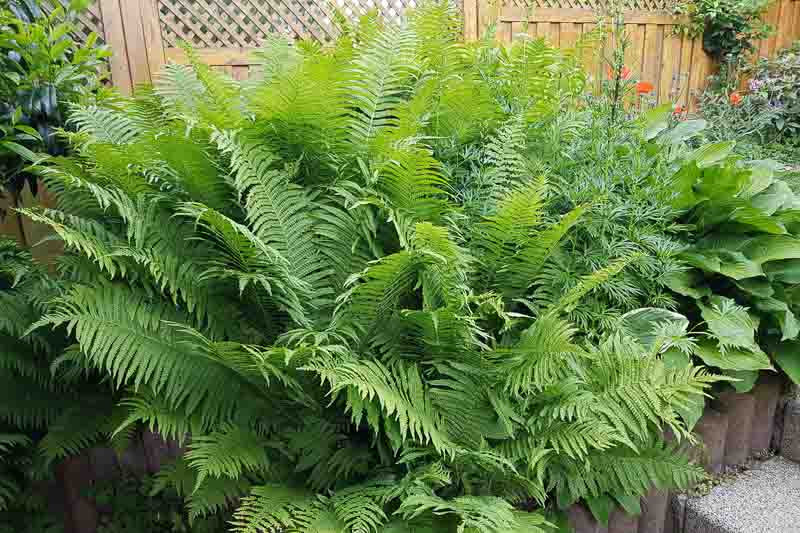
Choosing the Right Location
Before diving into planting blanket flowers, select the right location for optimal growth. Blanket flowers thrive in full sun, so choose a spot in your garden that receives at least six to eight hours of direct sunlight each day.
Ensure the soil is well-drained, as blanket flowers are susceptible to root rot in overly wet conditions.
If your soil tends to be heavy or compacted, amend it with organic matter such as compost or well-rotted manure to improve drainage and fertility.
How To Plant Blanket Flowers: Step-by-Step Guide
Once you've identified the perfect spot, it's time to grow blanket flowers. Follow these simple steps for successful blanket flower planting:
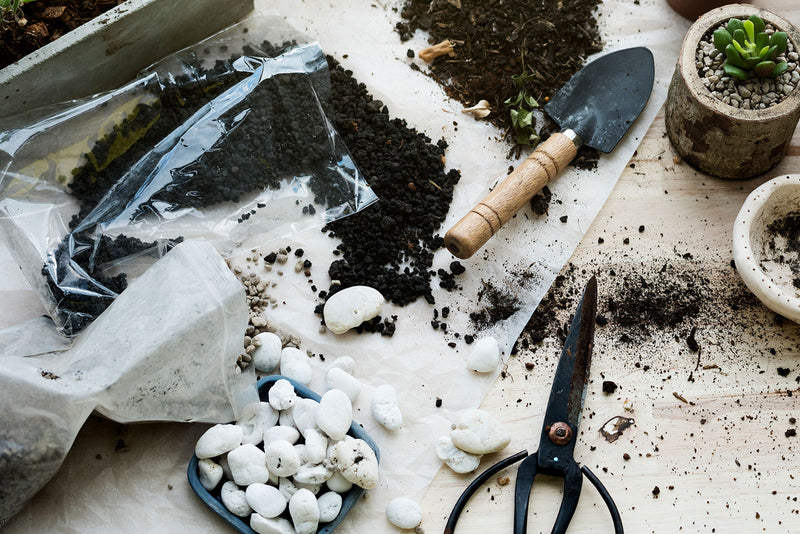
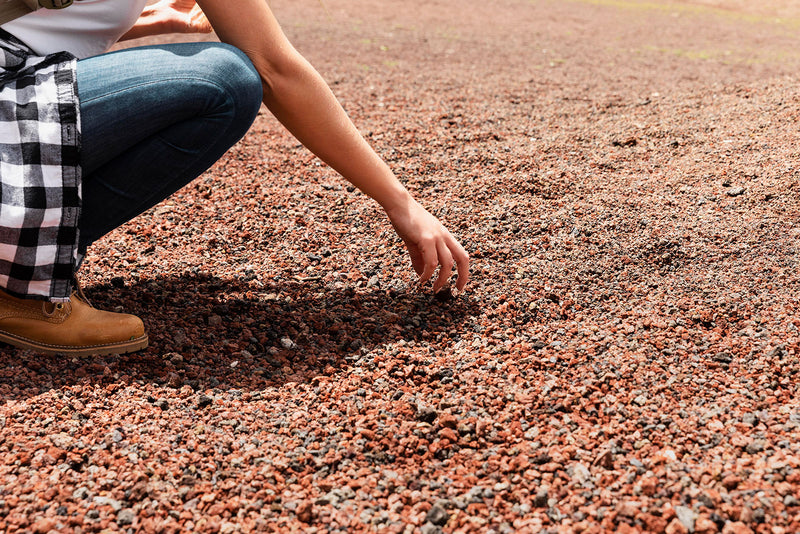
Step 1: Prepare the Soil
Before placing your blanket flowers in the ground, take the time to prepare the soil properly. Using a garden fork or shovel, loosen the soil to a depth of 10-12 inches. This aerates the soil, allowing for better root penetration and nutrient absorption.
Additionally, remove any weeds, rocks, or debris from the planting area to provide a clean, unobstructed environment for your new plants to thrive.
Step 2: Spacing
Proper spacing is crucial for the healthy development of blanket flowers. Depending on the specific variety you're planting, aim to space them approximately 12-18 inches apart.
This generous spacing allows for adequate air circulation between plants, reducing the risk of fungal diseases and promoting vigorous growth. It also provides ample room for the plants to spread out and flourish without competing for resources.
Step 3: Digging Holes
When it's time to dig the holes for your blanket flowers, remember that size matters. Digging holes that are slightly wider and deeper than the root ball of the plant is key. This extra space encourages the roots to spread out and establish themselves more effectively, ultimately leading to healthier, more robust plants.
Take care not to compact the soil at the bottom of the hole as you dig, as loose soil promotes better root growth.
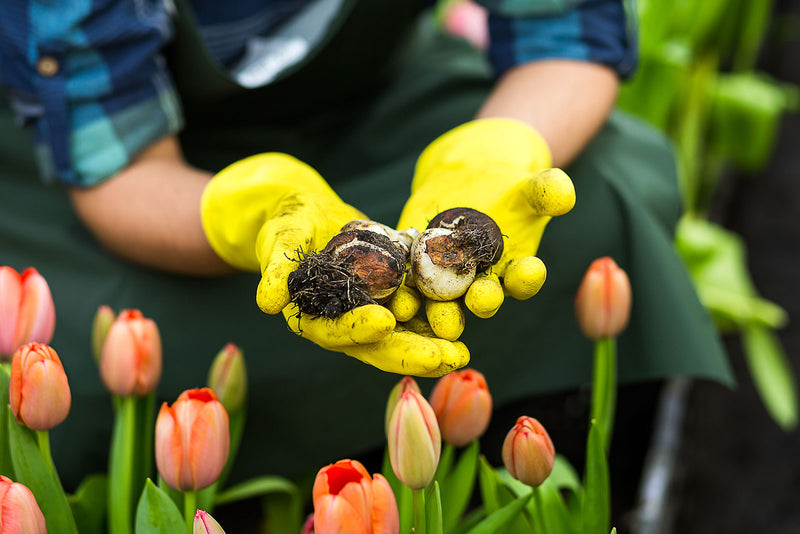
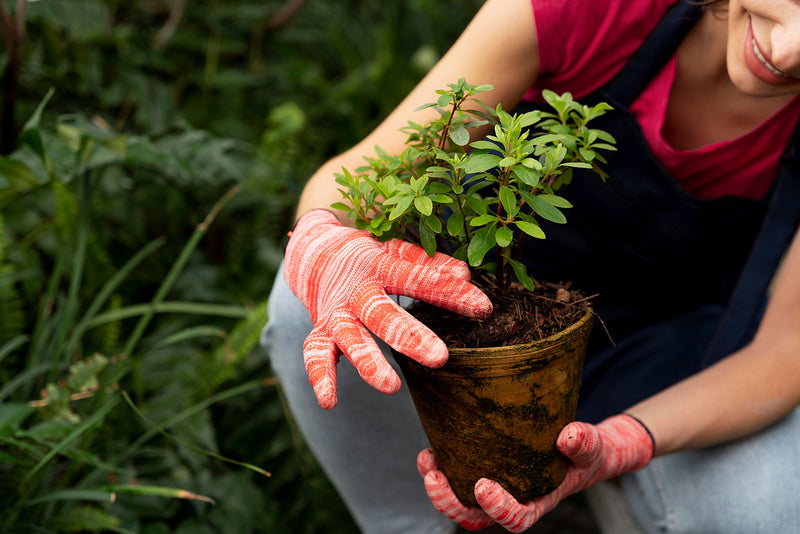
Step 4: Planting
Now that your soil is prepared and the holes are dug, it's time to carefully plant your blanket flowers. Start by gently removing the plant from its nursery container, taking care not to disturb the roots excessively.
Place the plant in the center of the prepared hole, ensuring that the top of the root ball sits level with the surrounding soil. Backfill the hole with soil, pressing gently to eliminate any air pockets around the roots.
Water the newly planted flower thoroughly to settle the soil and provide essential hydration to the roots.
Step 5: Mulching
After planting your blanket flowers, the final step is to apply a layer of mulch around the base of each plant. Mulch serves multiple purposes, including retaining moisture in the soil, suppressing weed growth, and regulating soil temperature.
Choose organic mulches such as bark chips or straw, as they gradually break down over time, enriching the soil with organic matter. Apply a layer of mulch approximately 2-3 inches thick, taking care to leave a small gap between the mulch and the stems of the plants to prevent rot and disease.
Blanket Flower Care and Maintenance
In the initial year of growth, proper watering and maintenance are essential for the establishment of healthy blanket flowers. Follow these guidelines to ensure your plants thrive:
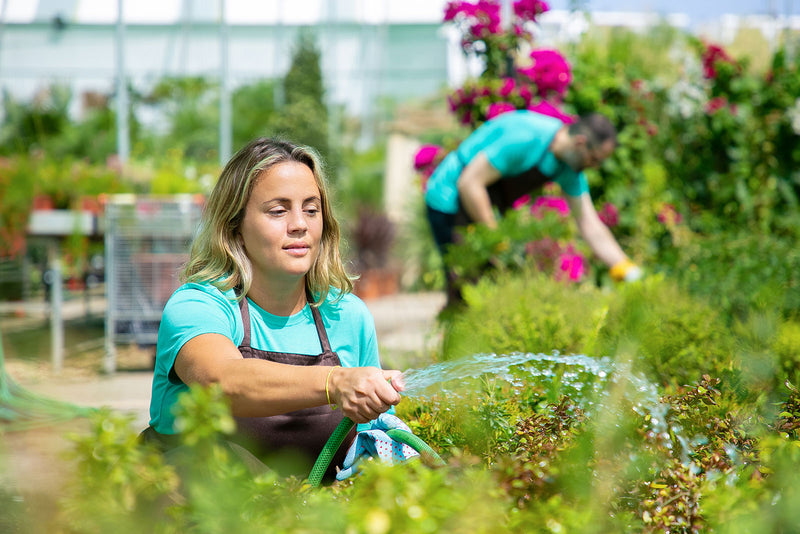
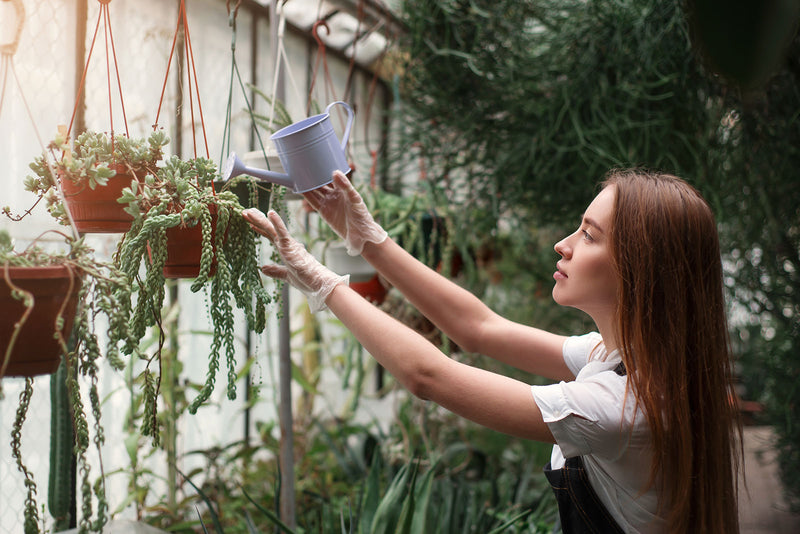
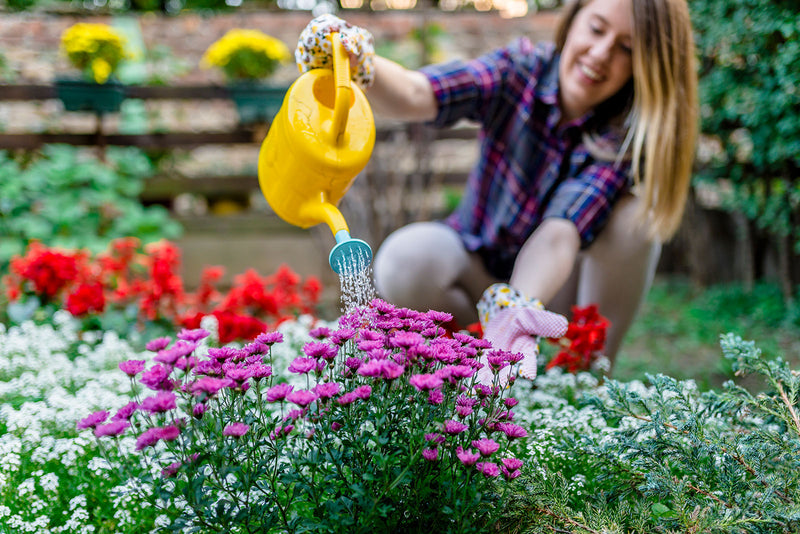
Watering
When it comes to watering newly planted blanket flowers, consistency is key. These plants prefer soil that is consistently moist but not waterlogged.
During the initial establishment period, typically the first year after planting, it's essential to keep a close eye on soil moisture levels. Water the blanket flowers regularly, especially during dry spells, ensuring that the soil remains evenly moist.
However, be cautious not to overwater, as excessive moisture can lead to root rot and other issues.
Once the blanket flowers are well-established, usually after the first growing season, they become more drought-tolerant and require watering only during extended periods of dry weather.
Fertilizing
Blanket flowers generally do not require heavy fertilization to thrive. Too much fertilizer can have adverse effects, such as promoting leggy growth and reducing flower production.
Instead, opt for a balanced, slow-release fertilizer applied sparingly in early spring. This provides the plants with the necessary nutrients to support healthy growth and abundant blooming throughout the season without risking nutrient imbalances or excessive vegetative growth.
Remember to follow the manufacturer's instructions carefully when applying fertilizer to avoid overfeeding the plants.
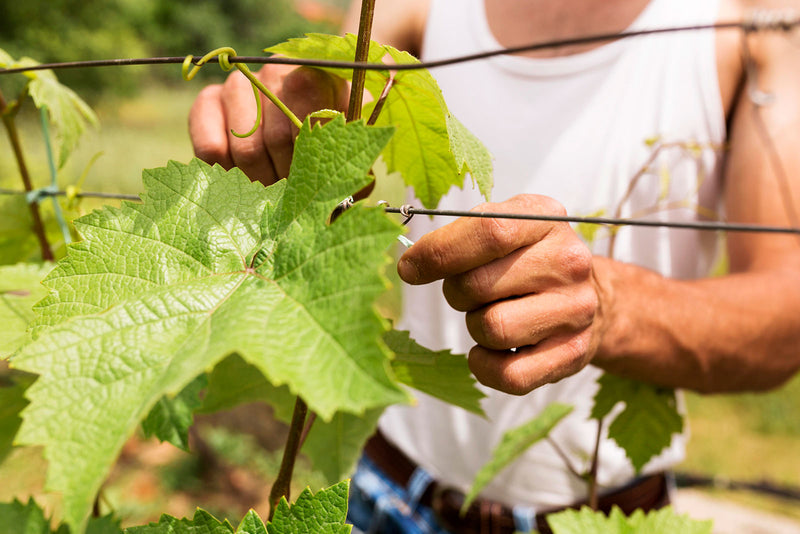
Deadheading
Deadheading spent flowers is a simple yet effective technique for prolonging the blooming period of blanket flowers. Regular deadheading removes faded blooms before they have a chance to go to seed, redirecting the plant's energy into producing new flower buds instead.
To deadhead blanket flowers, simply pinch off the spent flowers at the base of the stem using your fingers or a pair of pruners. This encourages the development of new buds and ensures a continuous display of colorful blooms throughout the growing season.
Make deadheading part of your regular garden maintenance routine, checking the plants every few days during peak blooming periods for any spent flowers that need removal.
Dividing
Over time, blanket flower clumps can become overcrowded, leading to reduced flowering and overall plant vigor. Dividing the clumps every few years helps rejuvenate the plants and prevent them from becoming too congested. The best time to divide blanket flowers is in early spring or late summer when the weather is mild and the plants are actively growing.
To divide the clumps, carefully dig up the entire plant using a garden fork or shovel, taking care to preserve as much of the root system as possible. Use a sharp knife or garden shears to separate the clump into smaller sections, each containing several healthy shoots and roots.
Replant the divided sections in well-prepared soil, and water thoroughly, and continue to care for them as usual.
Dividing blanket flowers not only promotes better plant health but also allows you to expand your garden's floral display with minimal effort.
Start Planting Blanket Flowers Today
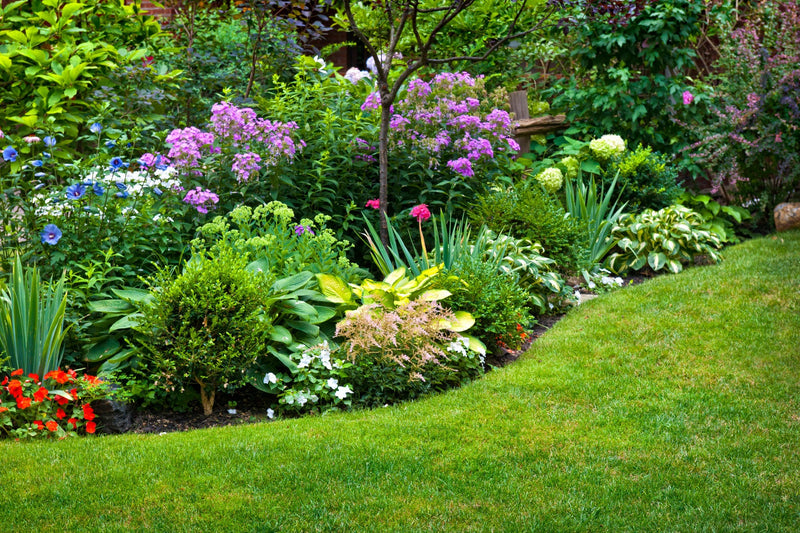
With proper care and attention, your blanket flowers will reward you with a profusion of colorful blooms from spring through fall. These cheerful flowers not only attract pollinators like bees and butterflies but also add a cheerful flair to borders, rock gardens, and containers.
Whether you're a novice gardener or a seasoned enthusiast, planting blanket flowers is sure to bring joy and beauty to your outdoor space this spring.
Start planting blanket flowers today! Happy gardening!